This tutorial shows you how to create a list of students for populating edval student data throught it’s import function. This is particularly useful for creating a list of students for a new year group on edval – eg when you need to create a list of the next year’s year 7 girls.
1. In Edumate, click on ‘Contacts’.

2. You will see the current date in the top left of the contacts page. You can view contact lists/groups/classes as they were from any point in the past or the future (if the data has been entered by the senior office for future dates).
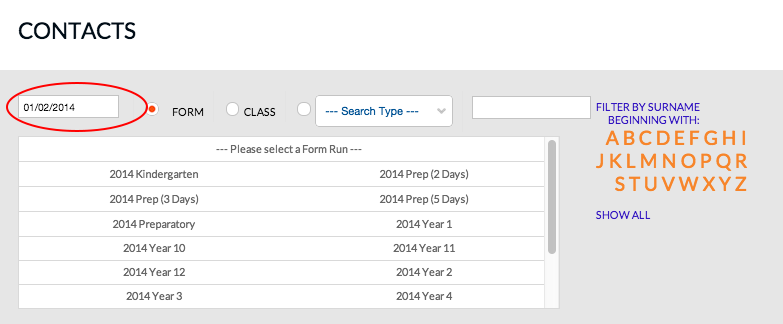
3. Click the date field, then use the picker (circled in red below) to choose the date (note you need to double click on the ‘day of month’ you choose to go to that date). The list of forms/classes will update to reflect it’s state at the date you have chosen.
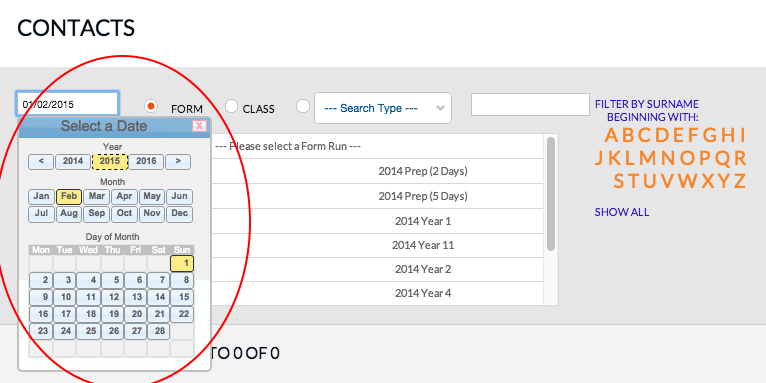
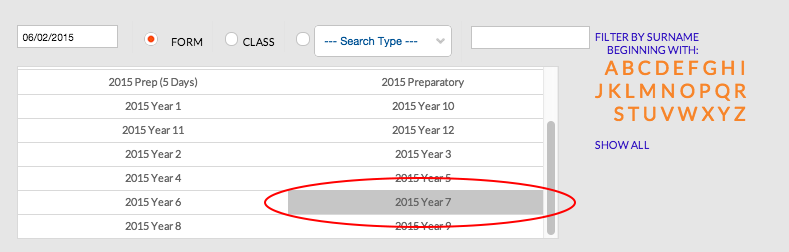
4. In this example we have gone to the next calendar year and chosen a date of February 1st, to get a list of the students in each form as of next year. As the senior office adds more and more enrolment data, this list will be up to date with all the enrolments currently in the system. Click on a form to display the list of students for that form (eg circled in red below).
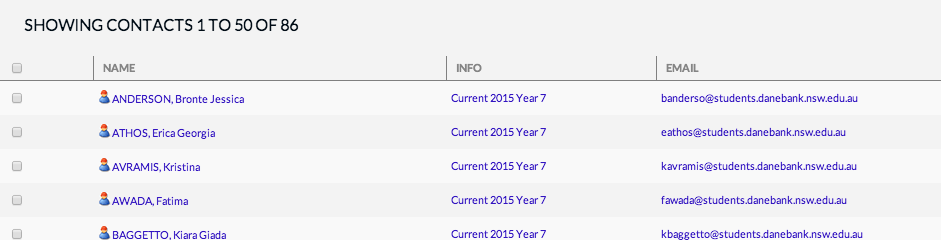
5. Below you will see a list of students in the selected group as per the following example.
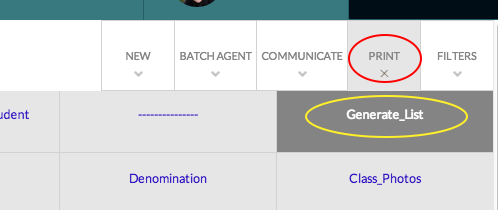
6. Click on ‘Print’ (circled in red below), then click on ‘Generate_list’ (circled in yellow below).
7. Once you have clicked generate list above, you need to click on the small ‘X’ (circled in red below) under print again to hide the print options so you can see the list again.

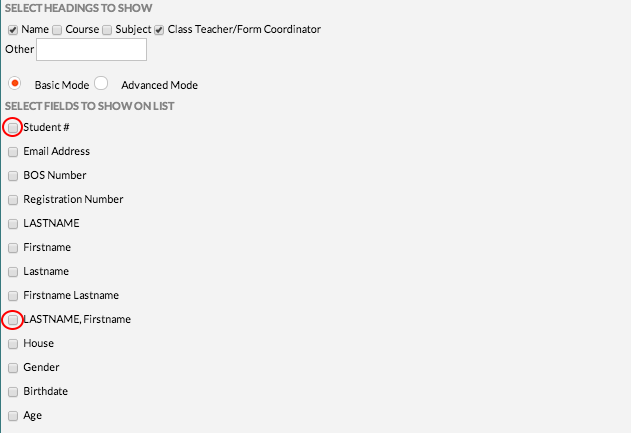
8. You have many options of things you can include in a generated list. For the edval import for example, you would only have ticked ‘Student#’, and ‘LASTNAME, Firstname’ (circled in red below) if that is all you want to import for student data in edval.
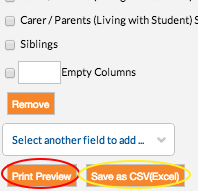
9. Scroll to the bottom of the list and click ‘Print Preview’ (circled in red below) to make sure all the appropriate data is there. If there are student numbers missing, you may need to contact the senior office to fill them in and then regenerate this list. Once you are happy with the list in the preview, you can generate the Excel file by clicking the save as CSV button (circled in yellow below).
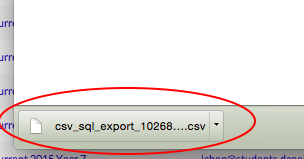
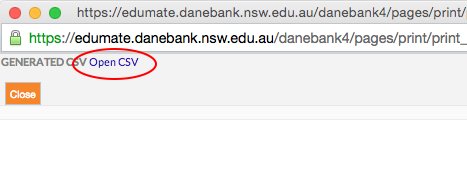
10. A popup window will appear, and when it is ready will have an option ‘Open CSV’ (circled in red below) which you can click to download the excel file.
11. If you are in google chrome (which you should be!) you will see the file appear at the bottom of the window (circled in red below), which you can simply drag onto your desktop ready to import into edval by going to the year group you wish to import into under student data, then in the edval menu click ->import->Student Data->Current year level.