What’s this for?
This article explains how to generate and print mailing labels for individuals in contact groups. You may need to do this if you were planning to send a large mailout to this group and required a quick method to print their addresses and mailing contact names.
N.B. “Mail” in this tutorial refers to physical mail, and not email.
1. Log in to Edumate and click on Contacts.
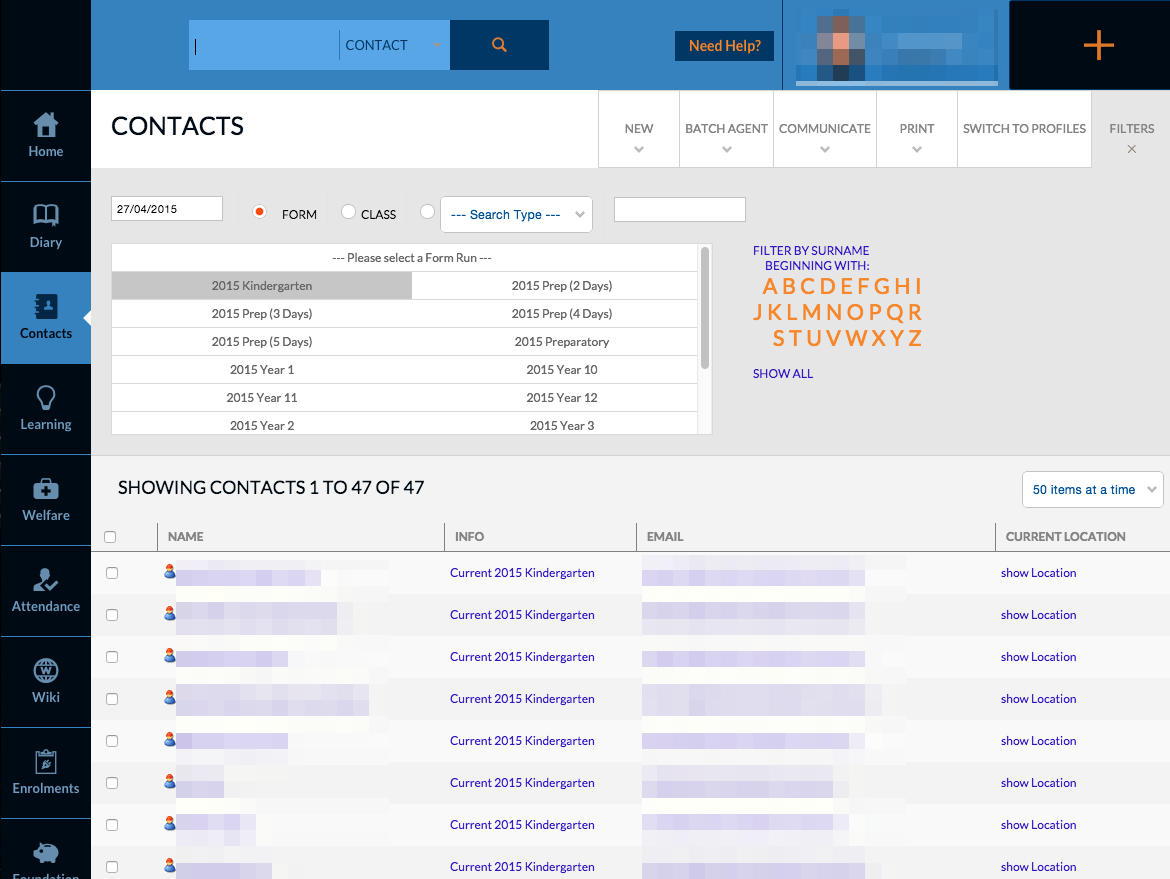
2. Find the Contact Group you wish to send the mailout to. Ensure that the date is current so that the generated lists are also current.
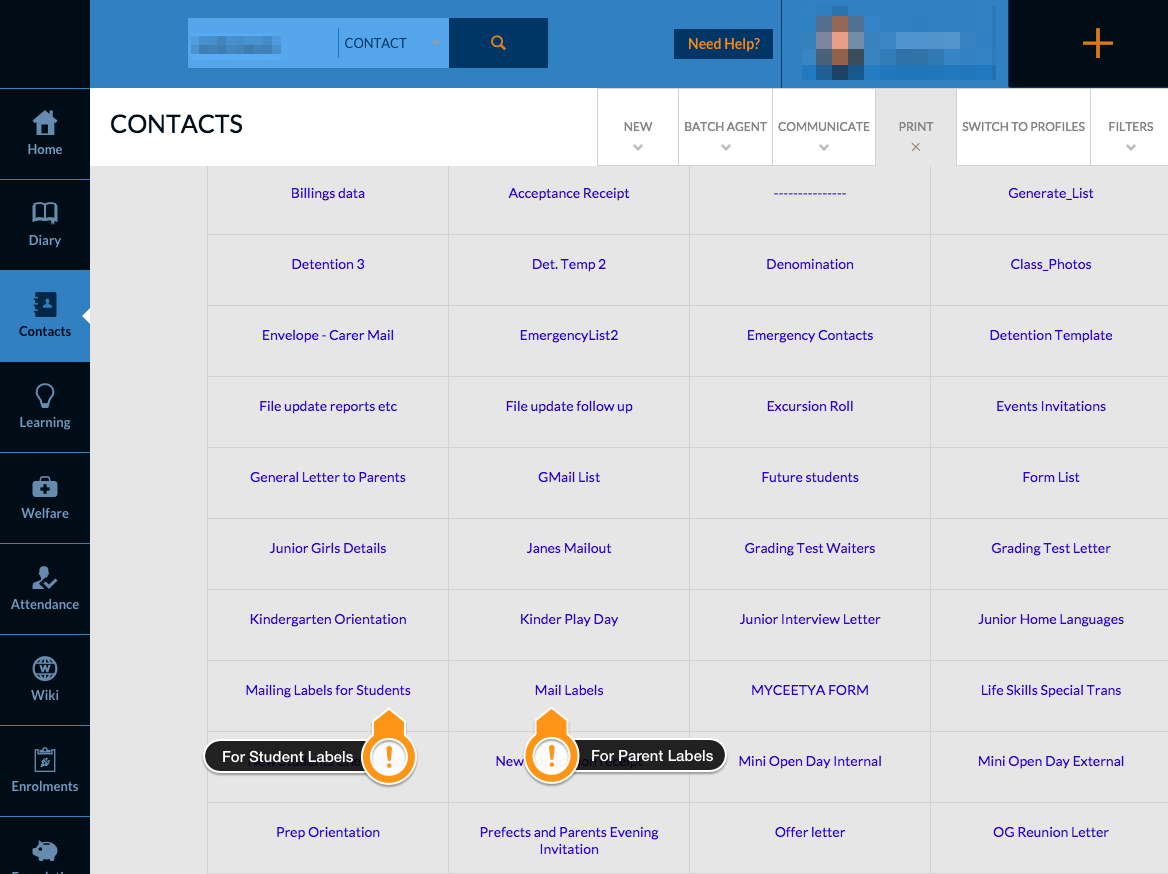
3. Click Print, located near the top right hand corner of the screen. Then choose either of the following options: (Please note that the availability of these options depends on which contact type you have chosen)
- Mailing Labels for Students: Select this option when you wish to address mail to a student, but not their carers or parents.
- Mail Labels: Select this option when you wish to address mail to a student’s “Lives With” carers.
4. A pop-up window will appear before the list is generated. Click “PDF” to save as an Adobe PDF file.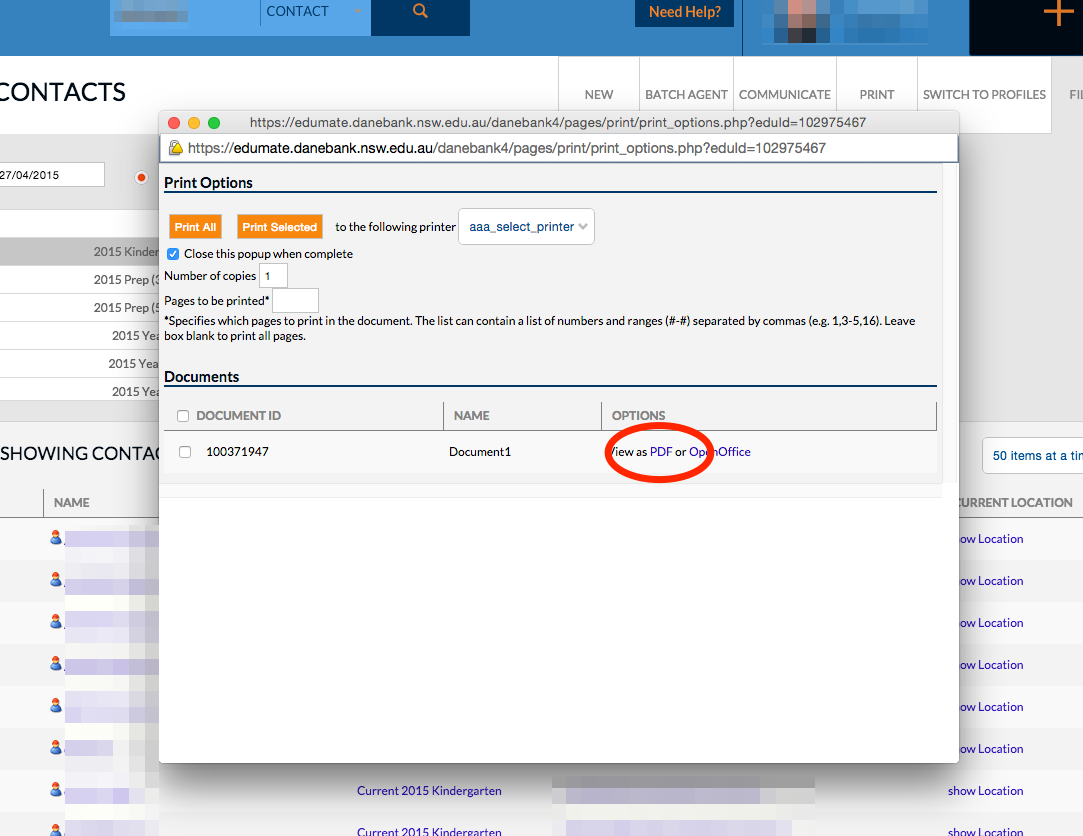
5. The progress of the download will be indicated along the bottom of the window. When the download has completed, click on the progress bar to open the file. Alternatively, click and drag the file name to the Desktop if you wish to make further alterations.
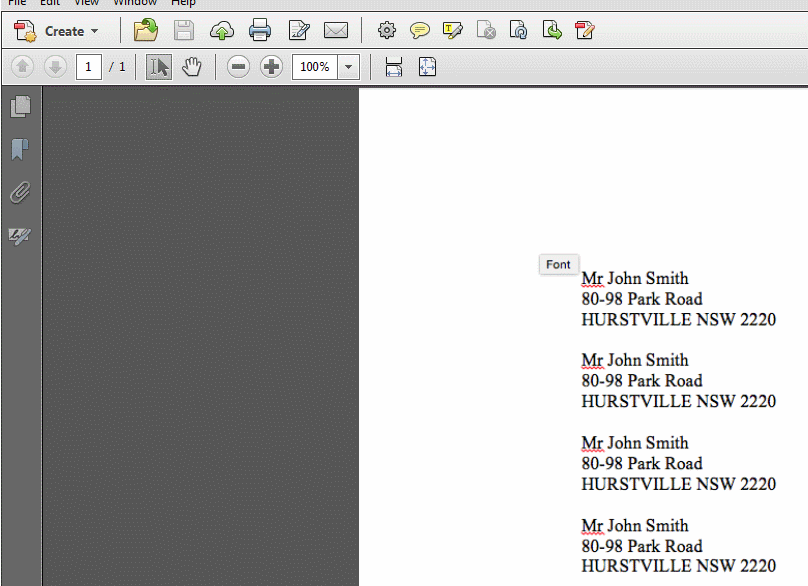
6. The file will open in Adobe Reader, or a similar program. 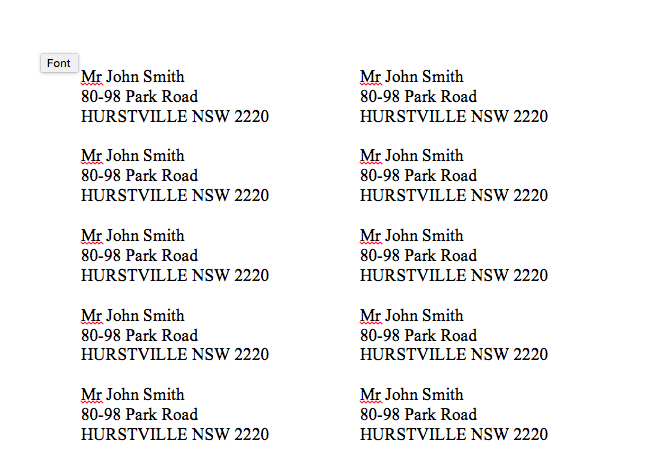
7. Print the list on to adhesive paper so the labels may be attached to the face of an envelope. Print in Adobe Reader by using the Ctrl+P shortcut, or go to File, Print.