IT Support maintains a growing catalogue of licensed applications which are free for staff to install. This article explains how to install these applications on any Danebank-owned Windows computer including assigned laptops, or lab computers.
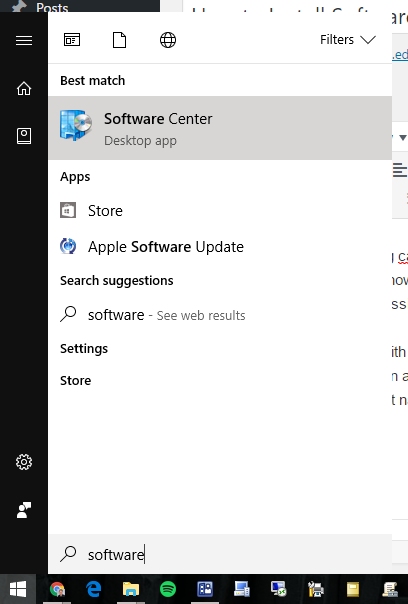
- Sign into the computer with your own login. Go to the Start Menu in the bottom left hand corner of the screen and in the search bar start typing “Software Center”. Double click on the result named “Software Center” to open the software catalogue.
- When Software Center has finished loading, you will see a list of programs that are available for you to install. NB: This will vary depending on which computer you are using; if you cannot see a software package in the list which you think ought to be, please call IT Support to discuss other options.
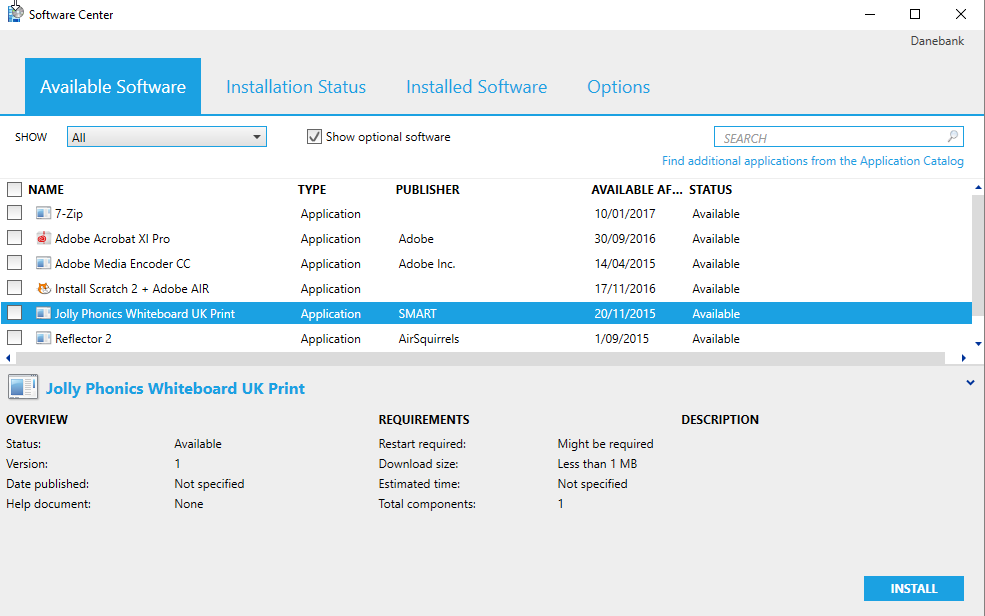
- If you only want to install a single software package, double-click on the software package you wish to install to start the installation. If you wish to download and install multiple software packages, click on the check-boxes next to each package you wish to install and then click “Install” on the bottom right hand corner of the window. Once this has been done, Software Center will change to the Installation Status tab to show the installation progress of each application.

- Once the package has finished installing, search for the program in the Start Menu or look for a shortcut to the program on your Desktop.
If any errors occur during the installation process, please contact IT Support for further assistance.