This process covers the minimum data we need for any new student who has had an interview and accepted a place they have been offered at Danebank. Any data that is missing from below will need to be obtained and entered.
Student’s and their Carers should have been created on the system at the time of their application following the New Student Application Procedure. PLEASE MAKE SURE ALL THIS INFORMATION IS ENTERED CORRECTLY BEFORE FOLLOWING THE INSTRUCTIONS BELOW.
Remember that this is the ‘minimum data’, but the more data you can enter at any point beyond what is mentioned here, the better.
New Student Place Accepted Procedure:
1. In Edumate, type the student’s surname into the search bar.

2. Locate the student in the list and click on their name to go to their student profile.

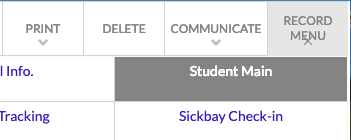
3. Click on ‘Record Menu’ then ‘Form Enrolments’.

Click on ‘Enrol in Form‘

4. Fill in the Academic Run Year a student begins in, and the Form Run they will be in that year. If a student will begin at the start of a year and finish at the end of any calendar year, leave start and end dates blank, otherwise fill in the appropriate dates. If a student is presumed to be here until they graduate, tick the Enrol to Graduation box (orange arrow below). Click ‘OK’ (green arrow below).

5. Click on ‘Record Menu‘ the ‘Student Main‘ to go back to the tabs.
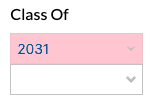
6. Click on the Student tab. Fill in the Class Of (highlighted in red below). Make sure it is the top box that is filled, the bottom can stay blank.
n.b. ‘Class Of’ refers to the year that the student would graduate from year 12 and needs to be set even if the student isn’t necessarily going to attend Danebank until year 12)
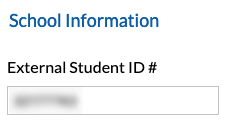
7. FOR STUDENTS IN YEAR 9 AND ONWARDS: under the ‘Student’ tab; a Board of Studies Number needs to be provided, which should be obtained through the Timetable Administrator and put under ‘External Student ID #‘.
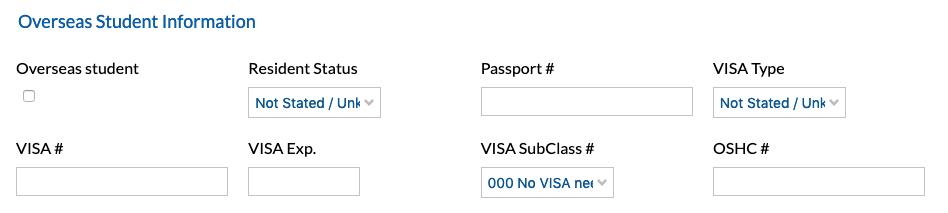
8. FOR OVERSEAS STUDENTS: Scrolling down further on the student tab you must supply a VISA SubClass #. If the subclass is not listed, contact the IT Department.
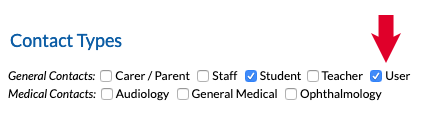
9. Click on the Groups tab. Student will already be ticked. Tick the ‘User’ box (red arrow below).
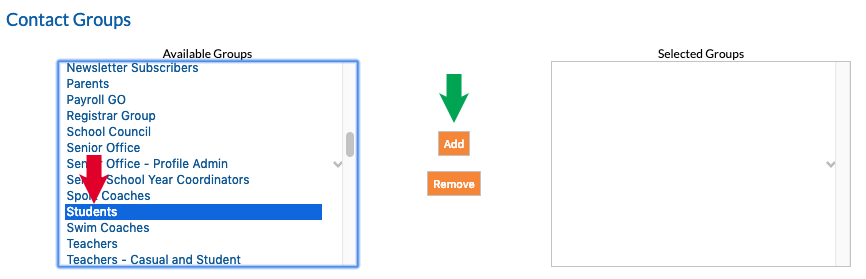
10. Assign the ‘Students’ group to the user by clicking on ‘Students’ in the left column under ‘Contact Groups’, then clicking ‘Add‘ (circled in red below).
11. Click ‘Save’ after completing the groups tab.

You will need to click into the ‘General’ tab after saving, then you will see another tab appear called access (circled in yellow below). Click on the Access tab. Tick the box next to ‘Active Account‘
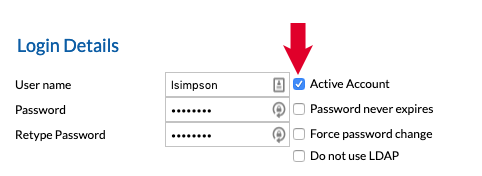
*Note the username shown here (red arrow above). You will need to set the email address in step 13 to reflect this exactly.
12. Click ‘Save‘ and wait for the button to turn green.
13. Click on the ‘General’ tab. Fill in the House and Email (highlighted red below) fields. Email will be the username from step 11 followed by @students.danebank.nsw.edu.au (as per the example below).
  |
14. Click ‘Save‘ and wait for the button to turn green.
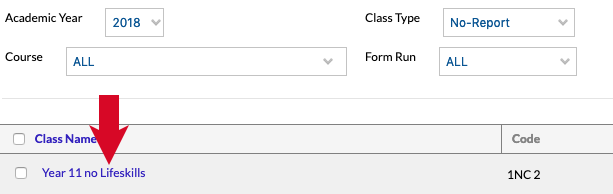
15. If a new non-lifeskills senior student who is being entered is commencing in the current academic year after the beginning of the current academic year, you must also enter them in their corresponding ‘year group no life skills’ class under edumate->setup->academic hierarchy->classes->no report and add the students to the no life skills class for their year group. eg:
16. Click on the ‘Relations‘ Tab.

17. For each of the primary carers listed on the above relations tab, you must create a Parent Portal Login and mail home a letter with their login details following this tutorial:
KB0192 – Parent/Carer Portal Login Creation
The user now has the minimum data we need for students to have active accounts when they begin, and can see the IT department to set up their login account.