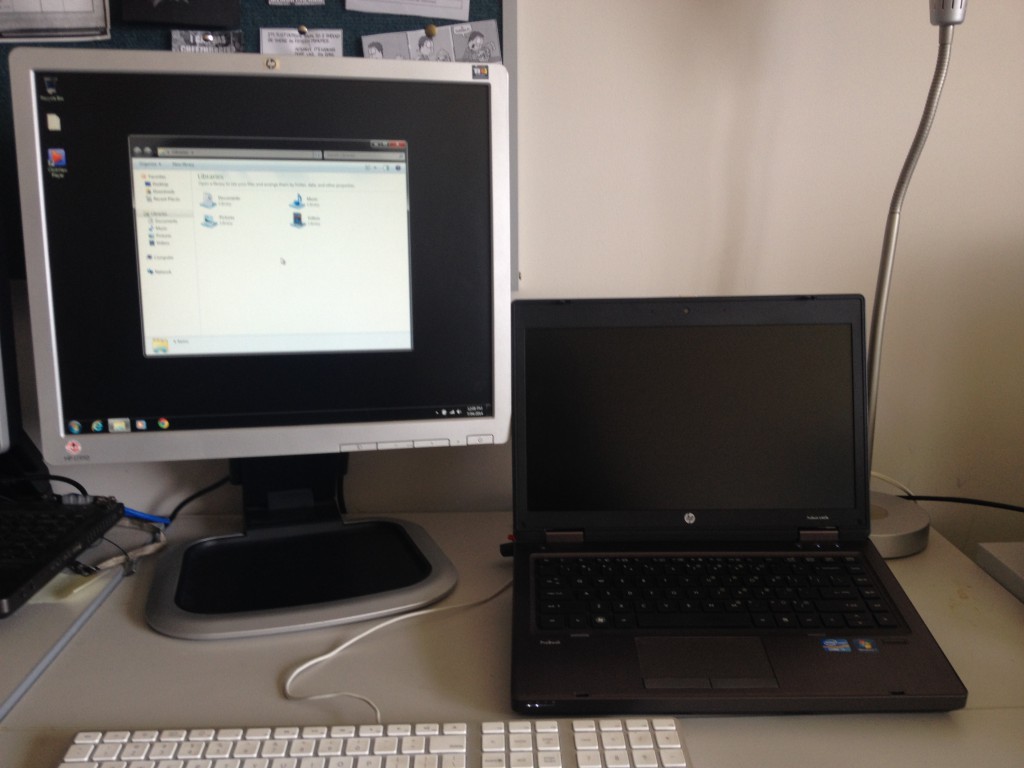
It’s likely that you regularly use your laptop in the classroom, either to use it as an interactive whiteboard or to display content for the students to see. This article explains how to easily set up your laptop with a projector or external screen.
Please be aware that this method does not work in all classroom setups as some projectors have other configurations which do not support this feature.
1. Ensure your computer is connected to the projector using a blue VGA cable installed in all classrooms. This will either connect to the back or side of your computer.
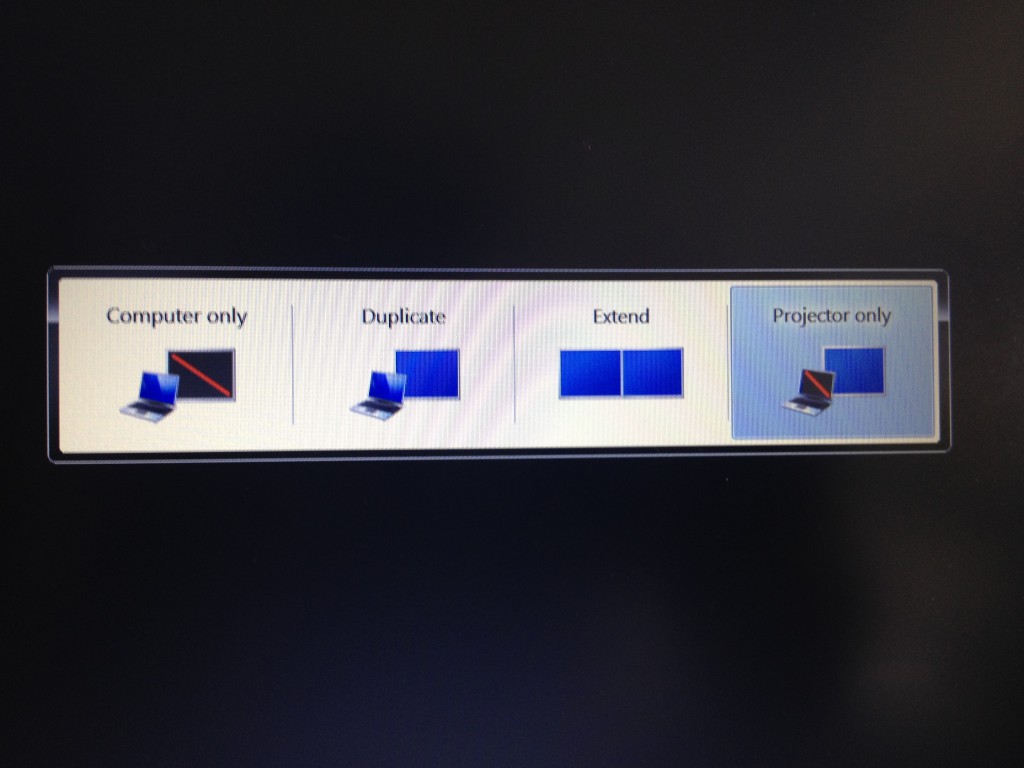
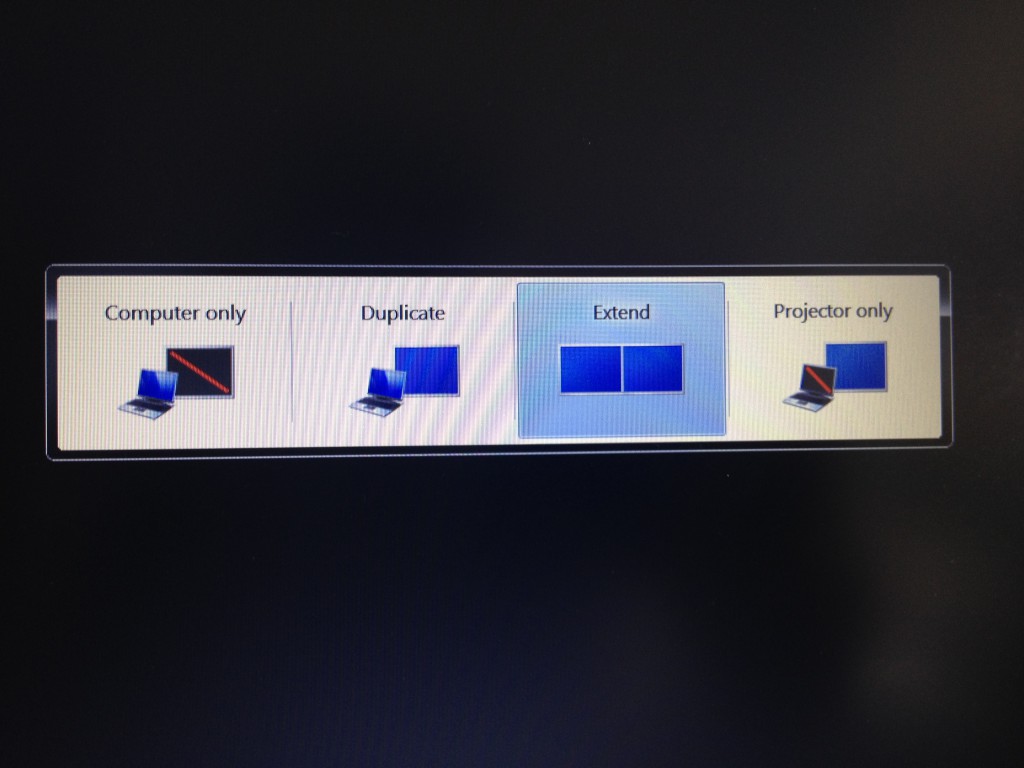
2. Hold both the Windows and P buttons to bring up the screen mode switcher.
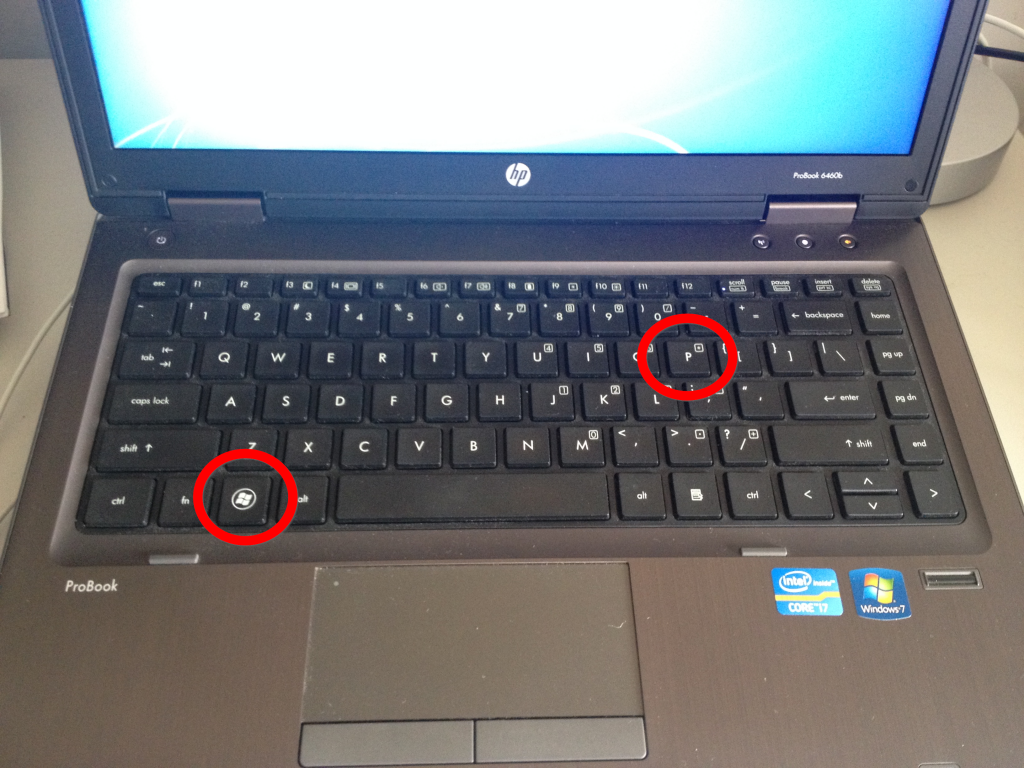
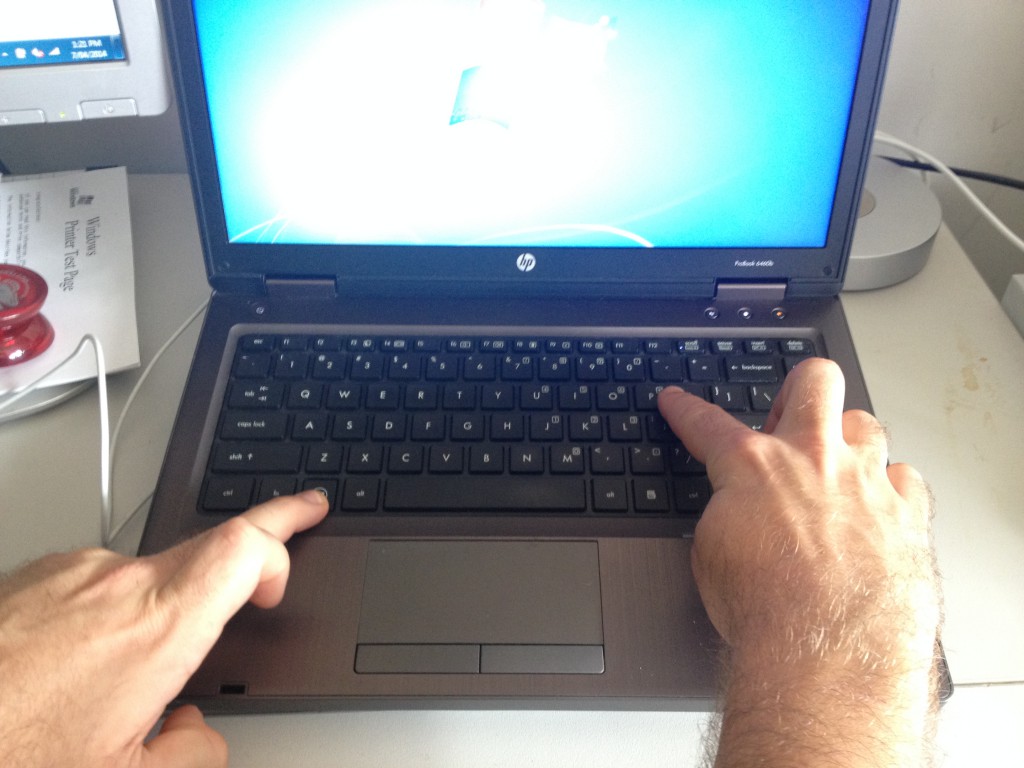
3. Release the P key whilst holding the Windows key down. The switcher will remain on the screen until you release the Windows key. You can switch through screen modes by tapping P to scroll through them, or otherwise use the arrow keys or your mouse.
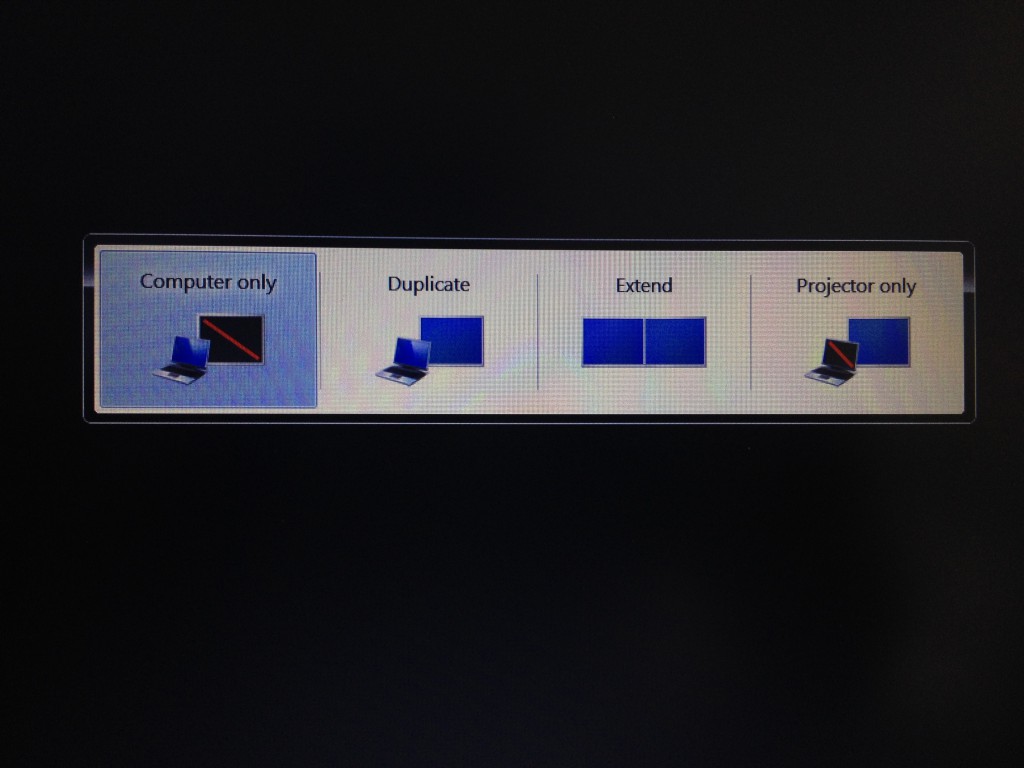
There are four modes to choose from:
- Computer Only – displays the image on your laptop screen only. No image will be shown on projector.
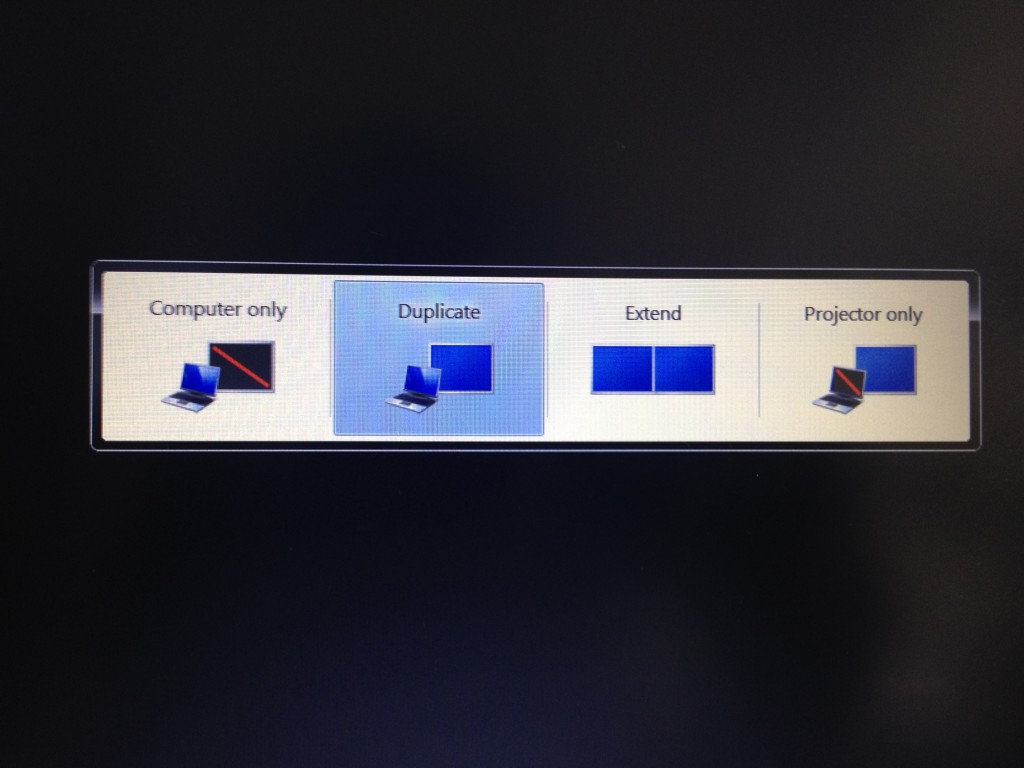
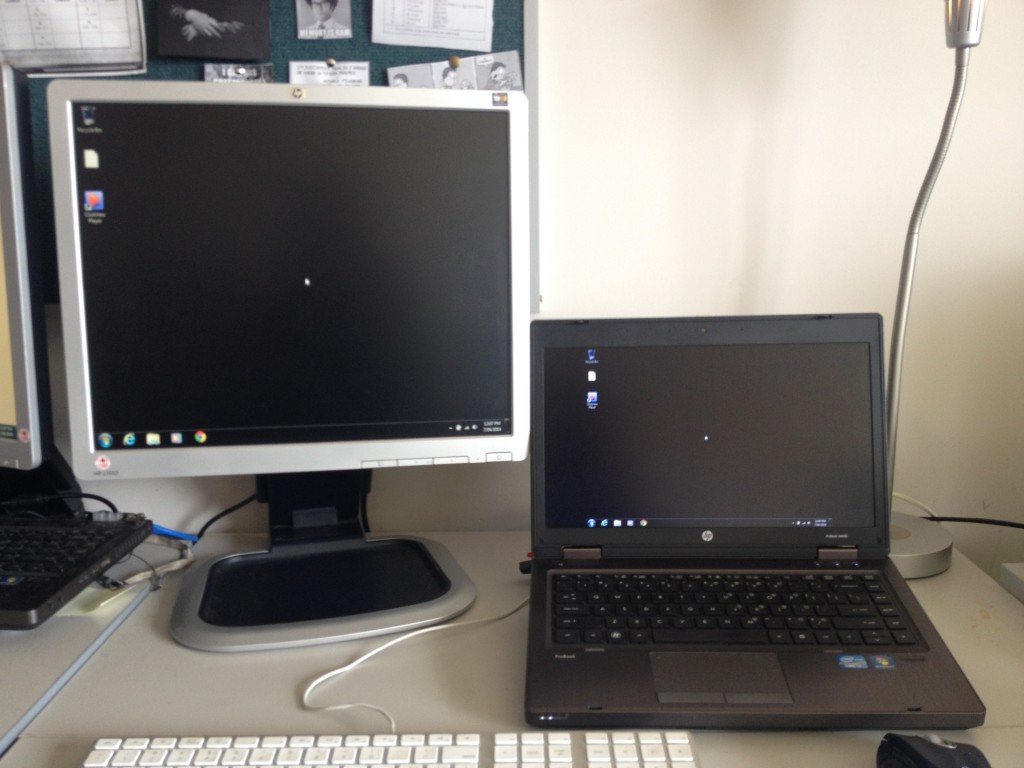
- Duplicate – displays a mirror image on both your laptop screen and projector screen. Use this option when using an interactive whiteboard.
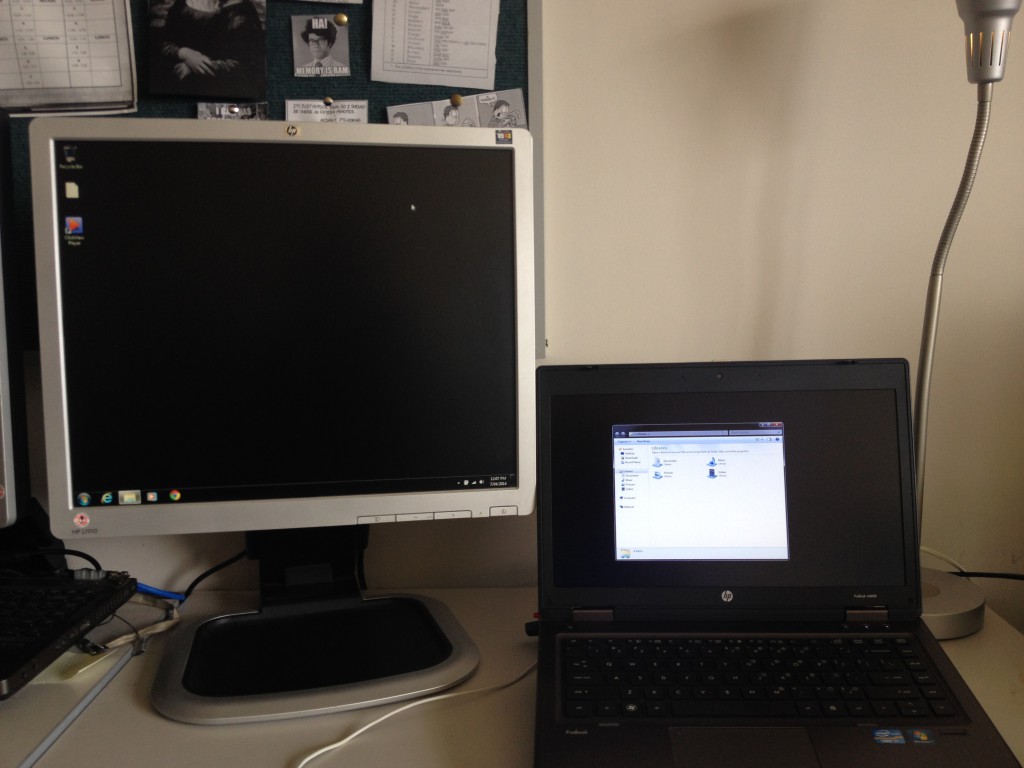
- Extend – treats the projector as another workspace. You can use this mode to display content on the projector screen while continuing to use your laptop screen as a separate workspace.
- Projector Only – displays the image on the projector only. No image will be shown on your laptop screen. DO NOT USE this mode when laptop is disconnected from projector as image will disappear from laptop screen and you will not be able to use your computer.
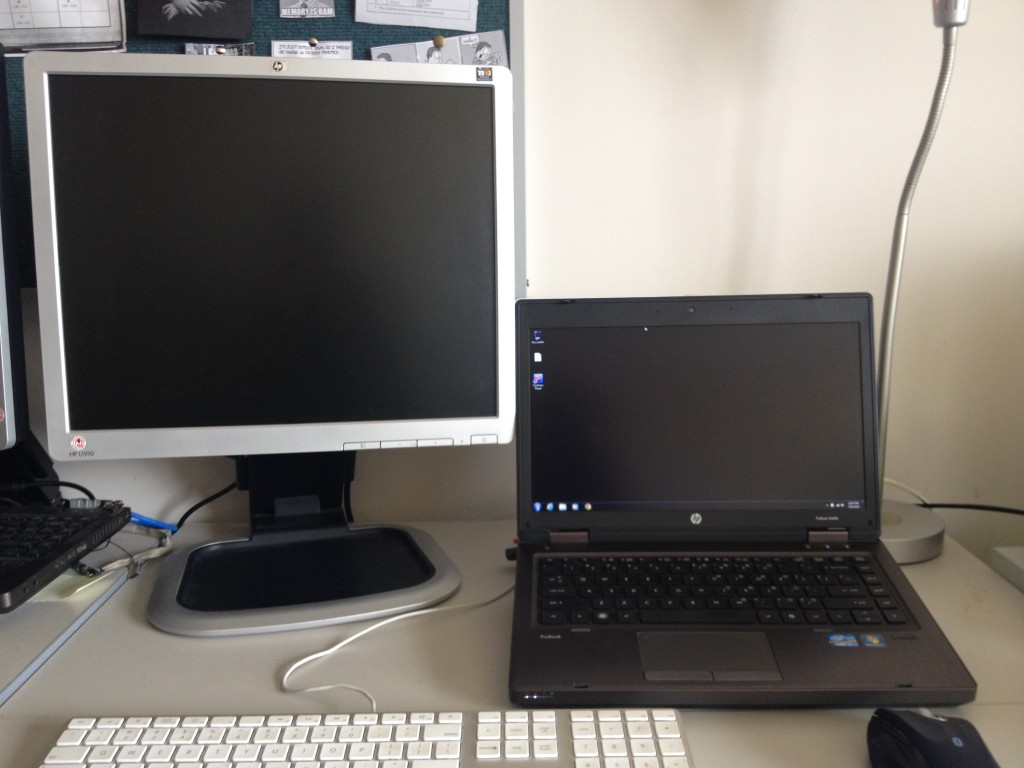
5. The modes behave as follows:
Computer Only

Duplicate (use this mode for interactive whiteboards)
Extend
Projector Only
