This Tutorial shows you how to schedule appointments with other people through edumate taking into account availabilities of both attendees and rooms.
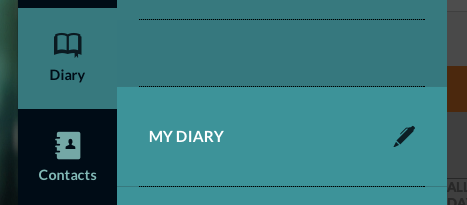
1. In Edumate, click on ‘Diary’ and then ‘My Diary’ from the menu.
2. Click on ‘New Activity’ in the top right, then click on ‘Appointment’ (circled in red below).

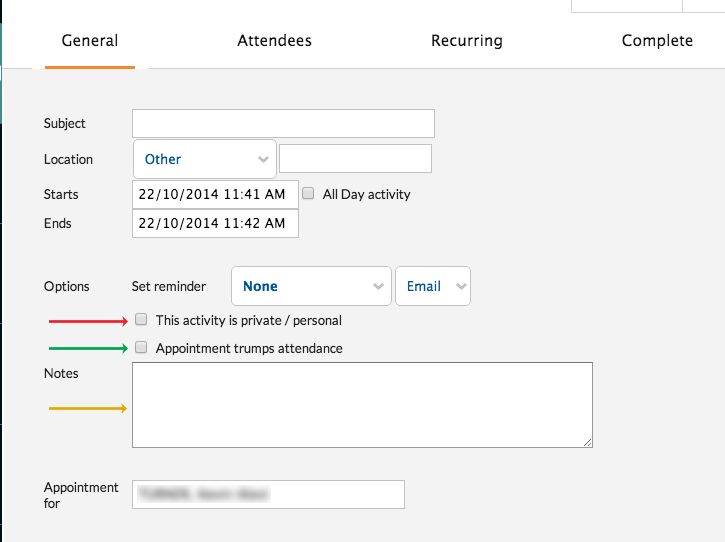
3. Set the subject. Location is optional but is recommended to set, and in the next step we will look at how to set a school location. You may choose to set a reminder so that all attendees will receive an email based on the ‘Set reminder’ drop down box as pictured below.
The tick box ‘activity is private/personal’ (red arrow below) means that only the attendees will have the event visible on their timetables and nobody else. The ‘appointment trumps attendance’ tickbox (green arrow below) means that the creator will need to mark a roll for this appointment and it will override any other attendance rolls in that timeslot when students are involved. The notes box (yellow arrow below) is what will appear in the invitation emails that the attendees will receive (step 9).
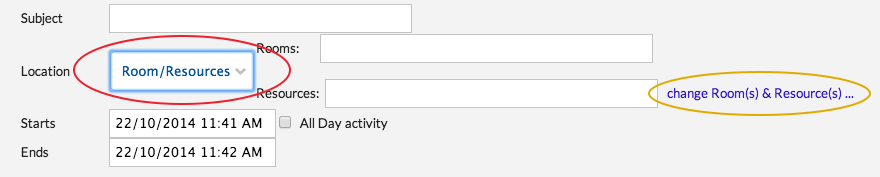
4. To set a room, click on the ‘location’ drop-down list and choose ‘room/resources’ (circled in red below). Then click on ‘change Room(s) & Resource(s)…’ (circled in yellow below).
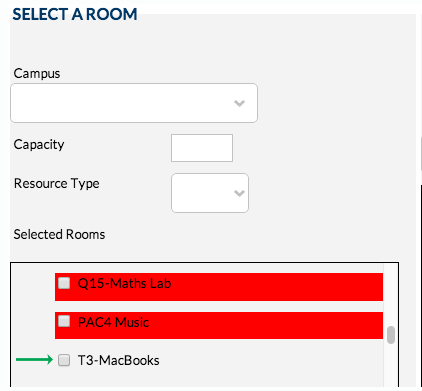
6. Tick next to the desired room from the list that appears. Any unavailable rooms for that time slot will be highlighted in red so look for available rooms (eg green arrow below).
7. Click on ‘Book it’.
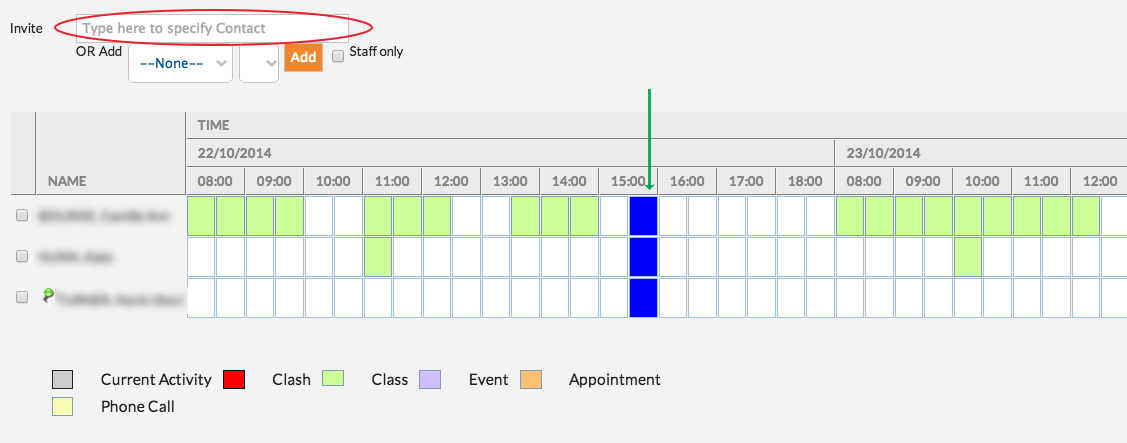
8. To add people to the appointment, click on the ‘Attendees’ tab. Type in a name or part of a name in the ‘Invite’ box (circled in red below) and you will see a list appear of names to choose from as you type. Click on the person you wish and they will appear as an attendee in the list below. You may add as many attendees as you like, and you can also click the ‘OR add’ dropdown box to add entire groups of people. You can tick the tickbox next to an attendees name and click the ‘remove button’ to remove them.
You will see a grid indicating when the attendees are busy or free and by clicking on any box in the grid it will select that time slot for all attendees (eg green arrow below). You can click and drag to make the appointment take up multiple timeslots.
N.B. If you choose a different time from what you originally appointed in Step 3, you will need to recheck the availability of rooms you booked for the appointment, as their availability may have changed based on the new time!
9. Make sure you click Save!

10. When you click save, the attendees will receive an email as pictured below asking them to accept the invitation, after which it will appear on their edumate timetable.
