This tutorial will show you how to write task-based comments for your students through the markbook on edumate. Note that students will not see these marks/comments until you manually release them to the portal.
1. From the ‘Classic’ menu, drop down learning and click ‘Markbook’.

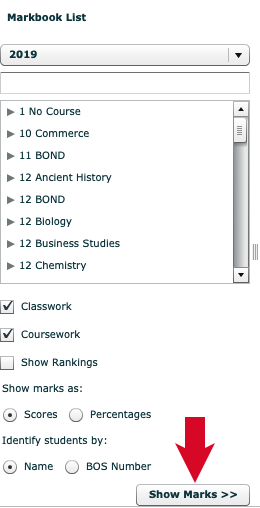
2. Locate and click on the appropriate course/class in the list, then click on ‘Show Marks’ (red arrow below).
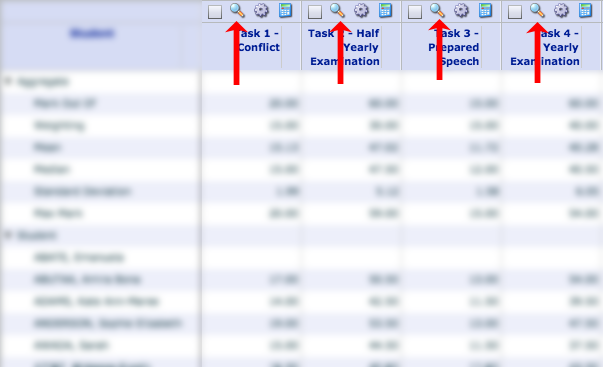
3. Click on the ‘Magnifying Glass’ icon (examples indicated with red arrows below) above the task for which you wish to write task comments (the same as you would to enter marks).
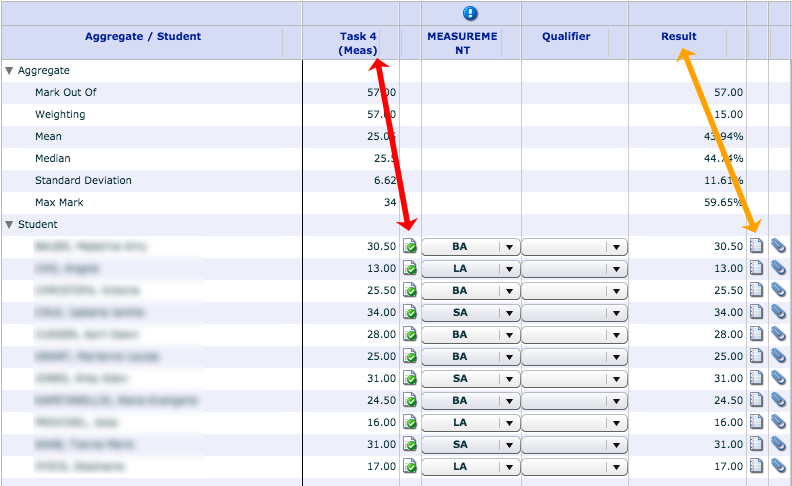
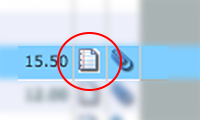
4. Locate the ‘Result’ Column (circled in red below, where the total task mark is), next to which you will see a small column of ‘comment’ icons (green arrow below). Student reflections are in the column with the red arrow as below.
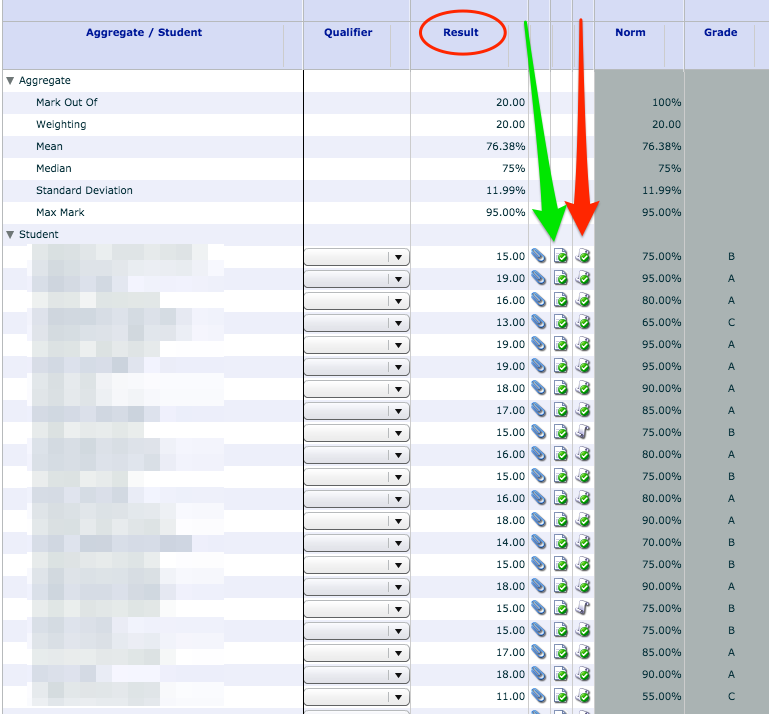
5. Click on the ‘Comment’ icon (circled in red below) for the student you wish to write a comment for.
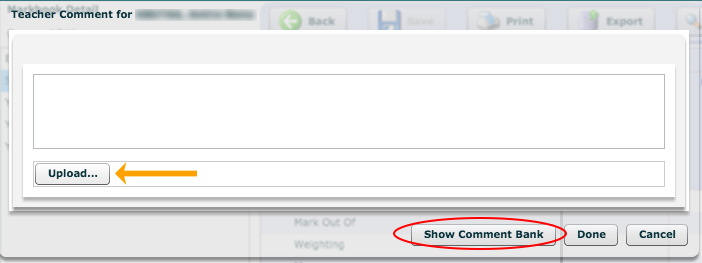
6. You will see the ‘Teacher Comment’ box appear for that student. There is a text box where you can type in a comment, or you can click ‘Show Comment Bank’ (circled in red below) to quickly compose a comment from the comment bank as explained in the following steps.
n.b. You can also upload (yellow arrow below) a rubric or any other file you would like an individual student to be able to download beside the task result in their student portal.
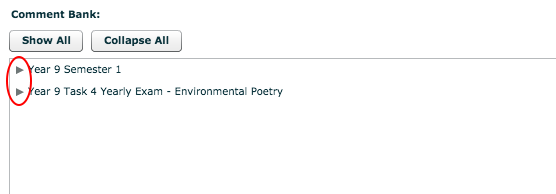
7. After clicking ‘Show Comment Bank’, you will see the available comment categories for that class appear as below. Click the arrow (red circle below) next to a comment category to expand that category and see it’s available comments.
8. Click on the desired comment from the list to put it in the actual comment box (eg red arrow below). The ‘Level’ is purely for your reference and does not show in the final comment. If you click multiple comments from the bank, they will transfer to the comment box one after the other – this way you can quickly make compound comments with the comment bank.

9. The comments you have clicked above will appear in the teacher comment box. You can still edit this comment manually or type extra comments into this box if you wish.
n.b. that editing comments here will in no way affect the comment within the comment bank, it will only modify this published teacher comment for this one comment instance!

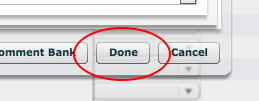
10. Once you are happy with the comment, click ‘Done’ (circled in red below). You can always come back and edit the comments later.
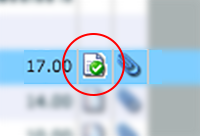
11. You will notice the comment icon you clicked on originally change to show a green tick over it (circled in red below). This indicates there is a comment present inside the icon, however you still need to click save in the next step to save your comments!
12. Click ‘Save’ after you have entered/edited your comments!
N.B. For Tasks that have subsections/columns, you will notice that there is a comment icon for each subsection (eg red arrow below) as well as an icon for the Result column (yellow arrow below). It is preferable to put the comments under the ‘Result’ column (yellow arrow below) as the comments will appear next to the task title in the student’s portal that way, but no matter if you put your comments in a subsection or the result column or both, they will all be visible to the student’s through the portal!