This tutorial will explain how to use www.canva.com and google image searches to quickly create navigation buttons for canvas page courses.
If you haven’t signed up to ‘Canva’ (not canvas), you will need to go to the site and create a free account before you can use it as per the tutorial below.
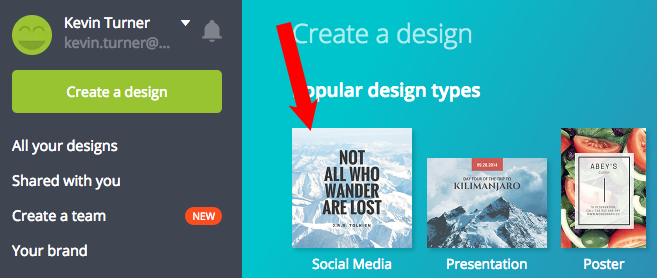
1. Go to www.canva.com and sign in, then click ‘Create a design’ in the top left.

2. Choose a layout option – it doesn’t really matter which option you choose as long as the dimensions are appropriate – for buttons we recommend using the square ‘social media’ option – Square layouts will allow you to easily position a lot of buttons in a grid.
3. Choose a template – in the left column you can scroll through many options of pre-made designs that you can alter for your buttons – make sure the template you select says ‘free’.

4. Alter the text – click on the text and change it to whatever you like, this is much like powerpoint where you can choose different fonts, sizes and move and resize the text object.

5. In a new tab of your browser, go to www.google.com.au and search for a background image for your button. For best results choose images that are mainly colour and at the darker end and don’t have too much detail/words/white etc so your button text doesn’t get hard to make out over the background.
n.b. Take note of where you save the image to as you’ll need to upload it to canvas from there
6. Go back to your ‘Canva’ design, click ‘uploads’ from the left column, click ‘Upload your own images’, locate the image you want to use as your background and click ‘open’.
The image will upload and you’ll see it appear with a little green progress bar – once it is uploaded drag it onto the background of the banner until you see it appear.
7. Download the banner – click the download button and then click download again, the image will save to your ‘Downloads’ folder.
8. Create multiple buttons with your design – you can easily and quickly create multiple buttons by simply altering the text of your above button and changing the background, then clicking download again (each new downloaded file will have a (1), (2) etc for the different buttons).
9. Upload the buttons to your ‘Canvas’ page – open the page the buttons are intended for and edit it. Move your cursor to where you want to create the navigation and insert a table with the amount of rows/columns you want to house your buttons. Click inside the first square to put the cursor in there.
Click ‘Images’ in the top right corner, click ‘Upload a new image‘, then ‘choose file’ and locate the first button in your download folder and click ‘open’. You then need to click ‘upload’ and the image will appear where cursor was – you can then resize it.
Click into the second square to put the cursor in there and upload the next button etc.
10. Create links to new pages from your buttons – edit your page where your button images have been uploaded. Select the button you want to turn into a link so that it is highlighted.
In the ‘links’ tab in the top right, scroll down under ‘pages’ and click ‘Link to a New Page‘ if you haven’t already created the target page. A box will appear to name your new page, enter a name and click ‘Insert Link‘. You’ll see the selected image flash yellow.
Click on your next image button so it is highlighted and repeat the process.
