This tutorial will explain how to install Adobe Creative Cloud on your Windows BYOD device – which then lets you install any Adobe application such as Photoshop, Illustrator, Indesign etc.
1. Download the Adobe Creative Cloud Windows application using the following link:
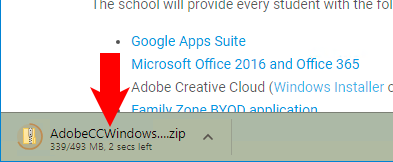
2. The installer will download – this may be visible in different parts of your browser depending on the browser and may take a while, examples shown below.
In Microsoft Edge / Internet Explorer, click ‘Open’ from the box that appears:
In Google Chrome, wait until the download completes and then click the file at the bottom:
3. A folder should open showing you some files as shown below, double click ‘setup.exe’.
* (If you can’t see the below folder after step 3 above, open your downloads folder and find the file ‘AdobeCCWindows64.zip’ and double click it)
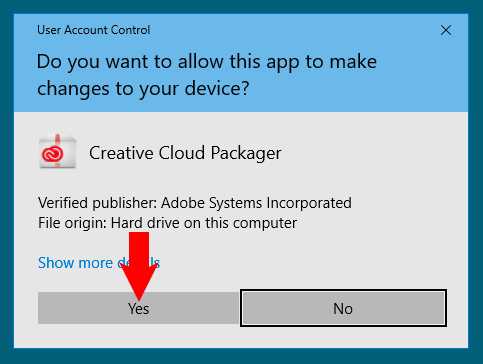
4. A box will appear after a short wait similar to the one shown below, click ‘Yes’.
5. The installer will open and begin installing Adobe CC, this may take a while to complete.
When the installer is finished, you will be prompted that the installation is successful.
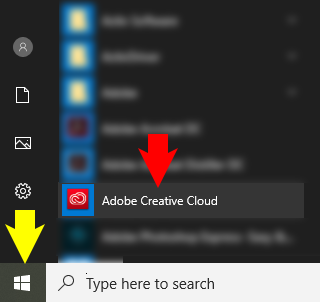
6. Click the Windows/Start menu (yellow arrow below), then scroll down and click on ‘Adobe Creative Cloud’ (red arrow below).
7. In the Adobe Creative Cloud application, type in your student email address into the ‘Email Address’ field. When you click into the password field you should be redirected to the login in step 11 below.
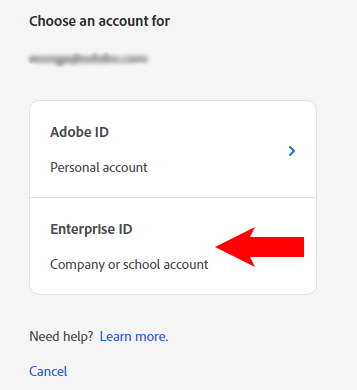
If you see the below prompt after typing in your email address, choose ‘Enterprise ID’.
* If you get an error advising that your username / password is incorrect, please see the IT department for further assistance.
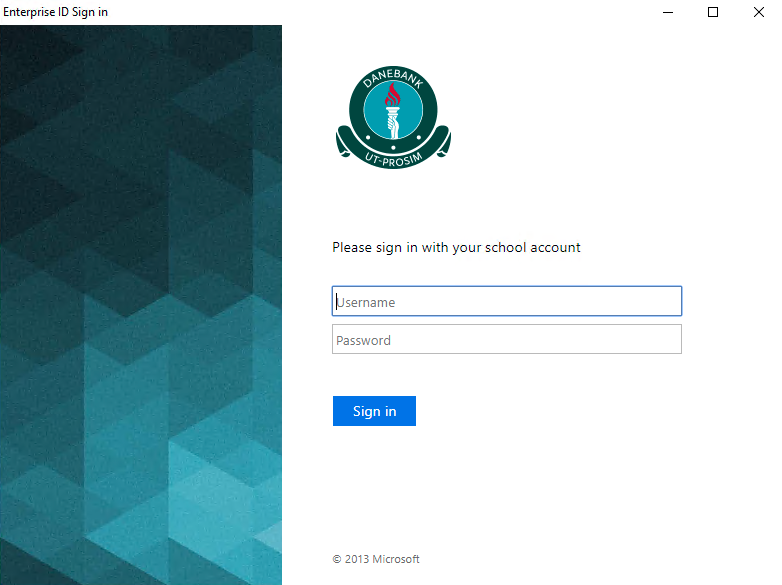
8. Enter your school username and password.
9. The application may update itself when you first log in, after it updates it should close and re-open itself after a few minutes.
* If it doesn’t re-open after a few minutes, restart your computer and open the application again as per the above step.
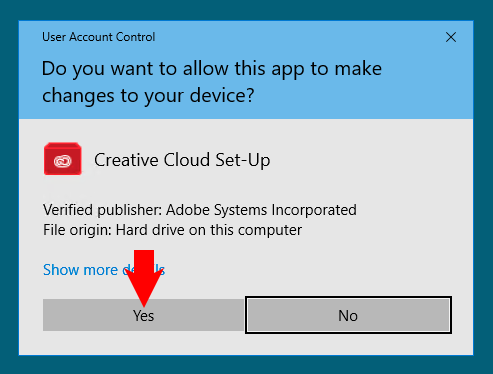
And you may also get another security prompt – click ‘Yes’.
10. Click on the ‘Apps’ tab in the Adobe CC application.
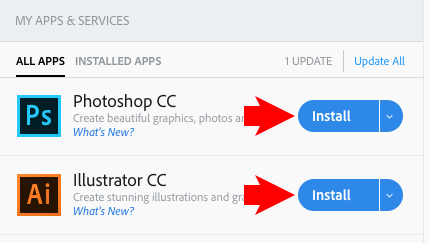
11. You will see a list of all the available licenced applications, click install on any application to install it, and once it is installed you can also open the application from here.
N.b. Adobe applications take up a lot of space on your device, so only install what you need.
* If you see ‘Try’ instead of ‘Install’ next to the application you need, please see the IT department for further assistance.

